 Another flower pot card, this time a purple version.

The majority of the materials used in this project are from ClubScrap. TFL DebDuzScrappin
 Another flower pot card, this time a purple version.
 Just a super simple but elegant card. Just stamp the background image in 3 different lighter colors, then stamp the main image over the top in black ink. Add sentiment.
 Another 'Domino' technique card.
 Another "domino" technique card.
 So I had a very dear friend and co-worker who was retiring from work and I wanted to make an extra special card for her.

 Ok - another baby gift for another friend of the family. This is a quick little 8x8 album. I was rummaging through my stuff and found a baby kit from ClubScrap that I bought a few years ago - the Oh Baby kit, if I recall correctly. I made the album cover out of some corrugated 8.5 x 11 cardstock, it is white on one side, black on the other. I just inked up the front to match the papers and covered the black side up with patterned papers. I just punched holes into the corrugated paper to match the page protectors and tied ribbons through the whole batch of them to create the binding. The kit had a bunch of cut-outs with sayings and sentiments.
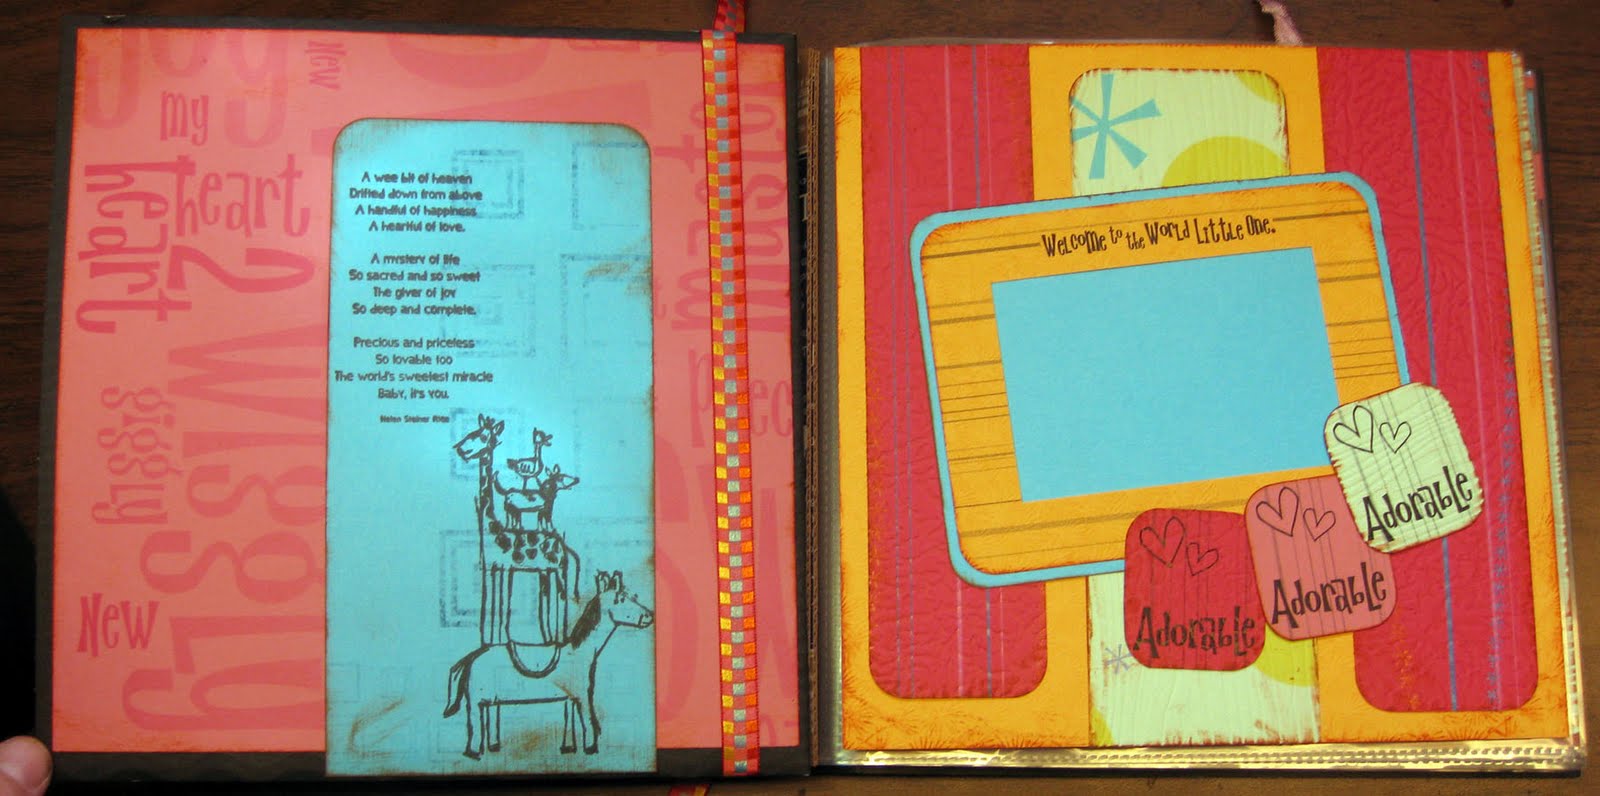


 Well I can't figure out who posted this SVG file for the onesie, but I had some issues with it, I just couldn't get the collar to cut out, it was just too skinny and wouldn't stay in one piece. I will probably hunt up a new SVG next go around or make something new up...but I was wanting to try out my cricut and make a card to go with my baby gift. I used the stamped sentiment from ClubScrap's Oh Boy kit on the front.
 TFL DebDuzScrappin
 This is one of ClubStamp's kits - if you are loving this project, be sure and order the kit - comes with instructions and all the pieces/parts you need to create this little gem.


 Domino technique
 Hard to tell in the picture, but I cut a circle out of the front of the card, so that the white circle with the flower is firmly affixed to the card back.
 Pretty simple card...on this particular card, I stamped the image, then cut it into 6 pieces all about 1x2.5 in - rounded the corners and did sort of a 'domino' look.
 Once again, I cut my nestabilities mat, scored a line approx 1 inch from top, glued that portion to the card back. I can write my message under this movable flap.
 On this card, when I cut my peach piece from my nestabilities die, I then 'scored' a line about an inch from the top. I glue just the one inch section to the card back. I can write my message under this flap that folds up. Stamps are from ClubScrap's Oh Baby kit.

 DebDuzScrappin
 Well I got me a new cricut to play with...and this is my first paper related project. We like to make little gifts for some of the elderly folks in our neighborhood and this is what I came up with...